
Supplies:
cardstock
clear contact paper
printer
paper cutter (optional)
scissors
For Tassels:
hole punch
embroidery thread (one skein per tassel)
piece of tape
a piece of thin cardboard (like from the back of a notepad) cut 4 inches by 2 inches
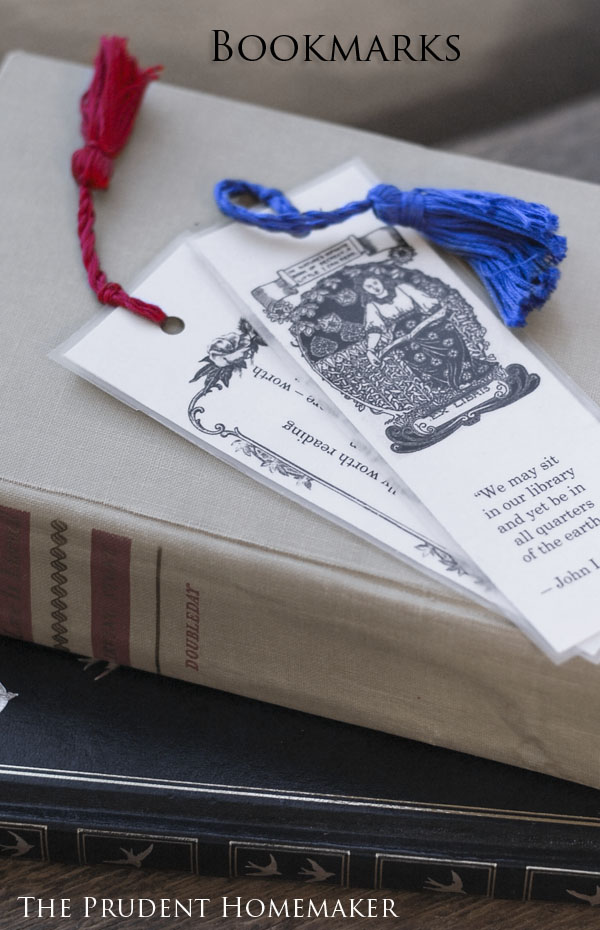
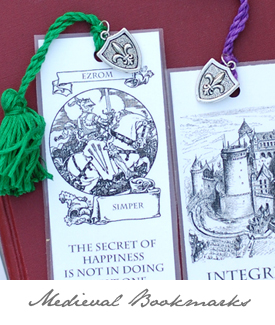
My avid readers are always in need of bookmarks. I’ve made bookmarks for my children as well as for their friends; it is a simple and inexpensive birthday gift.
I print these on cardstock. I get 100 sheets of cardstock in a package at Walmart.
When you print on cardstock, be sure to click “preferences” in the print window, and then choose “thick paper” so that you don’t have problems with the cardstock going through the printer.
I cover them with clear contact paper to make them sturdier (it’s less expensive than laminate, and you can get a roll for around $5 at Walmart. I first learned this trick in France, so my readers in other countries should be able to find clear contact paper as well; it is with the kitchen shelf liners.)
The pdf files for each of these have cut lines to make it easier to cut them.
After you have cut out the individual bookmarks (this is very fast if you own a paper cutter), cut clear contact paper slightly larger than the size of each bookmark. You will need 8 pieces for each printable file (2 for each bookmark).
Remove the backing from one of the cut pieces of contact paper, and carefully center the bookmark on it.
Remove the backing from another and place it over the top of the bookmark. Smooth the contact paper to remove any wrinkles, and then use your fingernail to carefully seal the edges of the contact paper to one another around the bookmark. Using scissors, carefully trim around the bookmark, leaving a small amount of contact paper around the bookmark to keep it closed (approximately 1/8 inch).
Repeat for the other bookmarks. You can now be done, or you can make tassels as well.
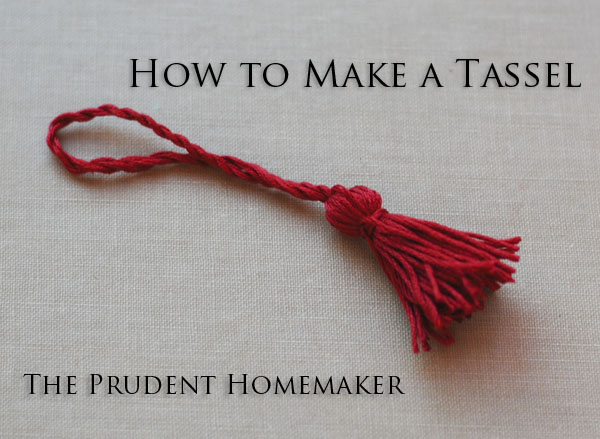
If you want to make tassels, first use a hole punch to punch a hole in the center top of the bookmark, down a little from the top.
You will need a little bit less than one skein of embroidery thread per tassel. This is a great way to use up vintage thread that you may have found at a garage sale, that was made by a company other than DMC, and is a color that you can never match again.
For the twisted cord, cut a piece of embroidery thread 48 inches long.
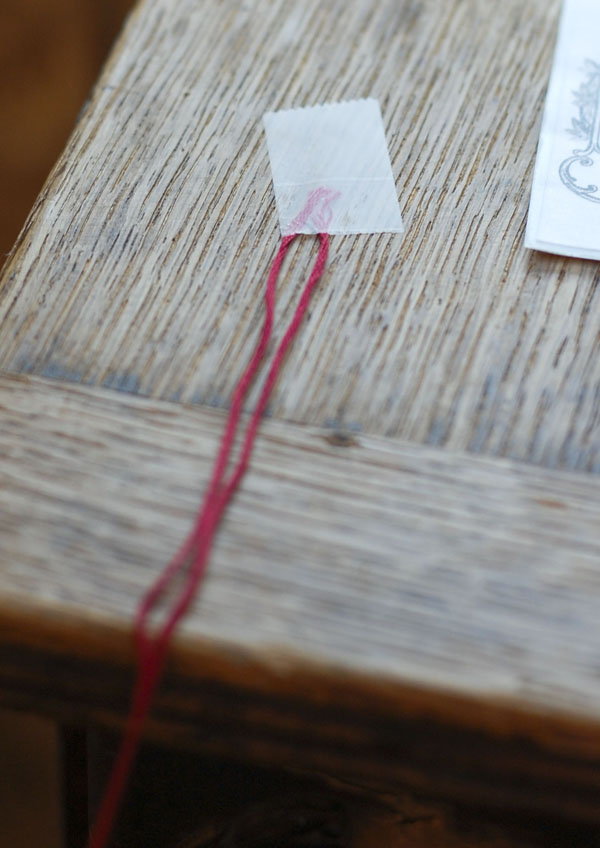
Bring raw ends of thread together. (You can use two colors instead and knot them together at one end). Tape one end of the threads to a table in front of you.
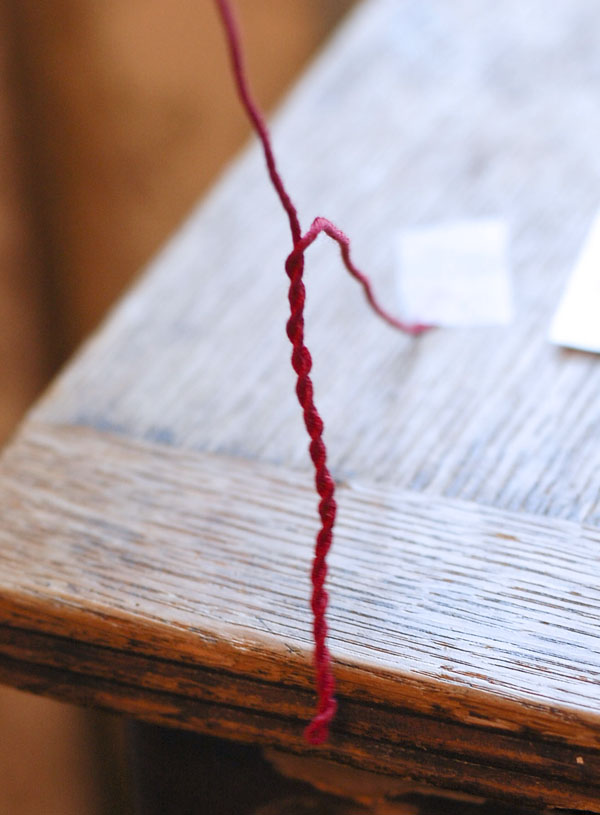
Use your fingers to twist the cords together until they want to kink.
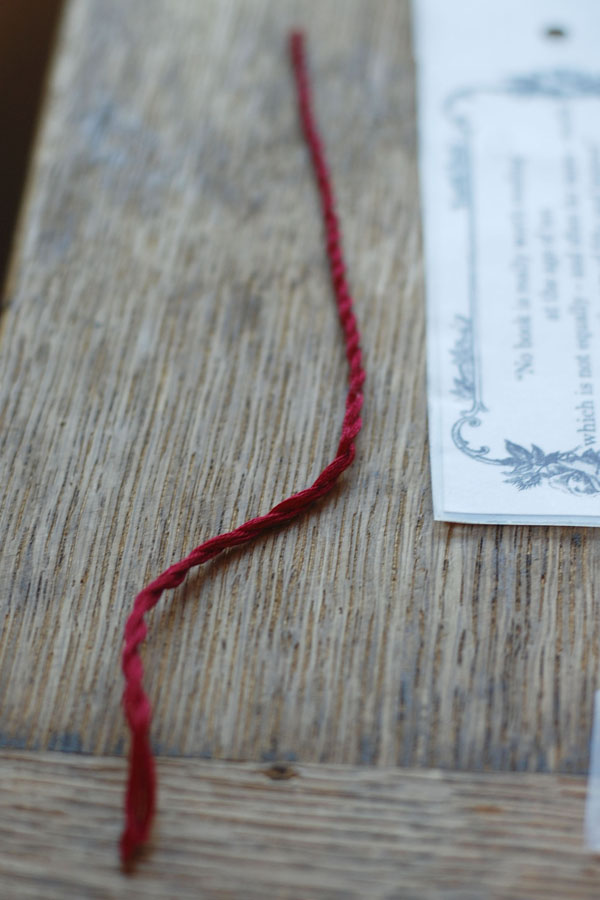
Take the raw ends down to the other end that is taped to the table. Match up ends; threads will wind around each other on their own. They may not be perfect, so use your fingers to smooth them until the ends are matching and you have a beautiful twisted cord.
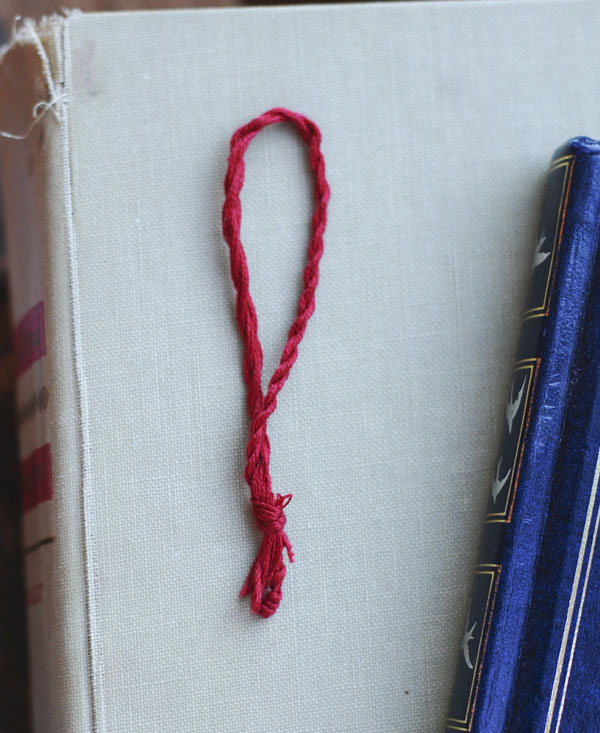
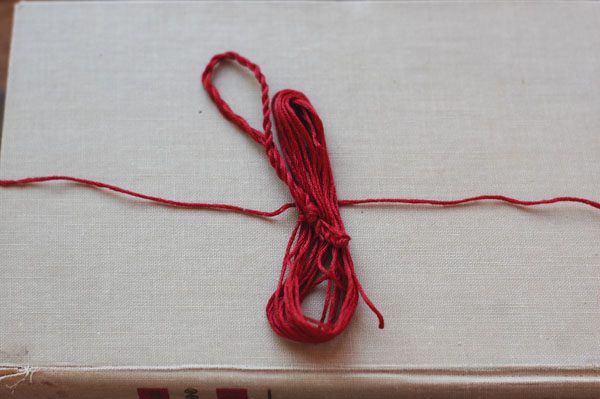
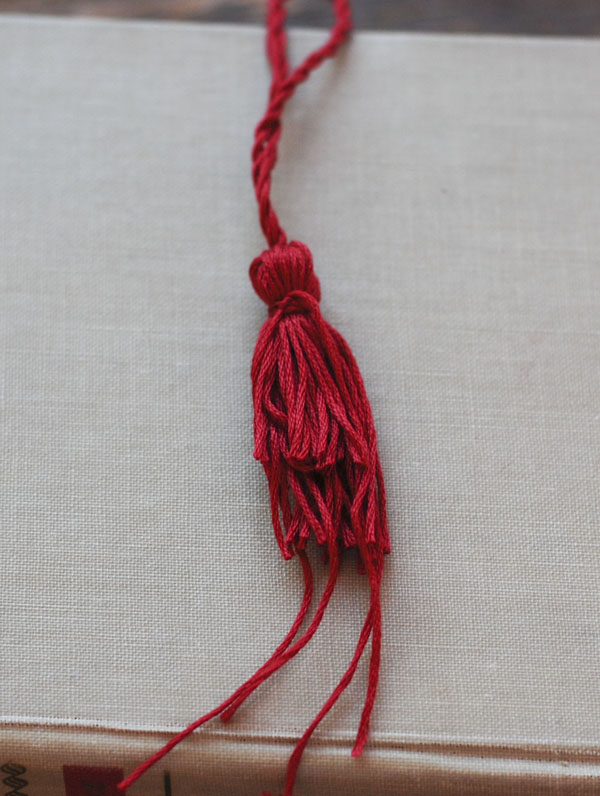
Bring ends of cords together again (folding the cord in half). Treating the cord as one piece, knot ends together.

To make the tassel, wind emroidery thread around the longest part of the cardboard 15 times, and cut off the rest. If you want a fuller tassel, you can wrap it around a few more times. If you want a two-colored tassel, wrap one color 7 or 8 times, and then wrap the other color 7 or 8 times on top of the first color.
Carefully slip wrapped embroidery threads off of the cardboard.
Cut a piece of embroidery thread 10 inches (cm) long.
Lay thread down on your table. Center the wrapped threads on to of it, and then put the knotted end of the tassel right in the center as well.
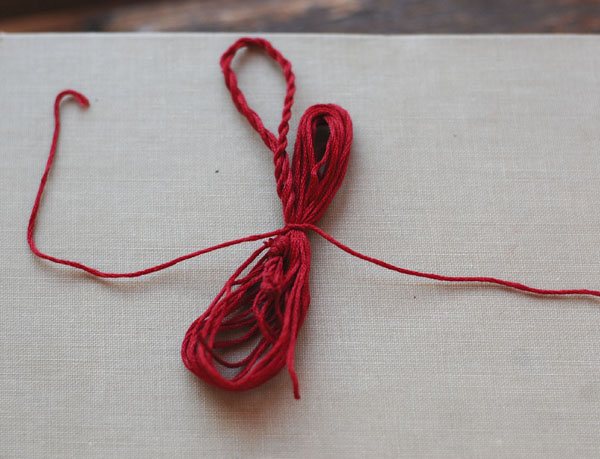
Tie thread around the entire bundle. Flip the bundle over and tie thread again. Flip it back and tie it once more.
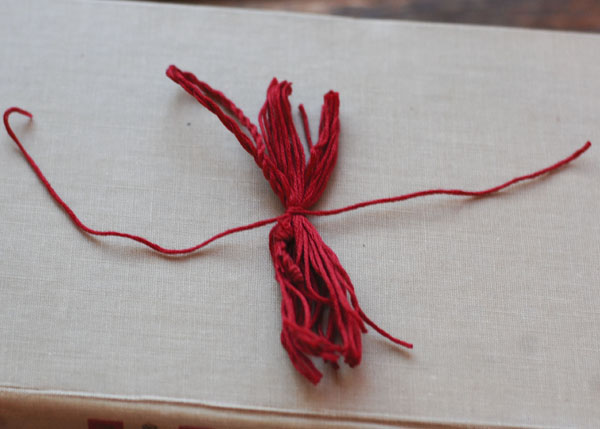
Use scissors to cut through the loops at each end of the bundle of thread.
Pull threads down all to one side, and arrange them over the knot so that the knot of the twisted cord is in the center and doesn’t show.
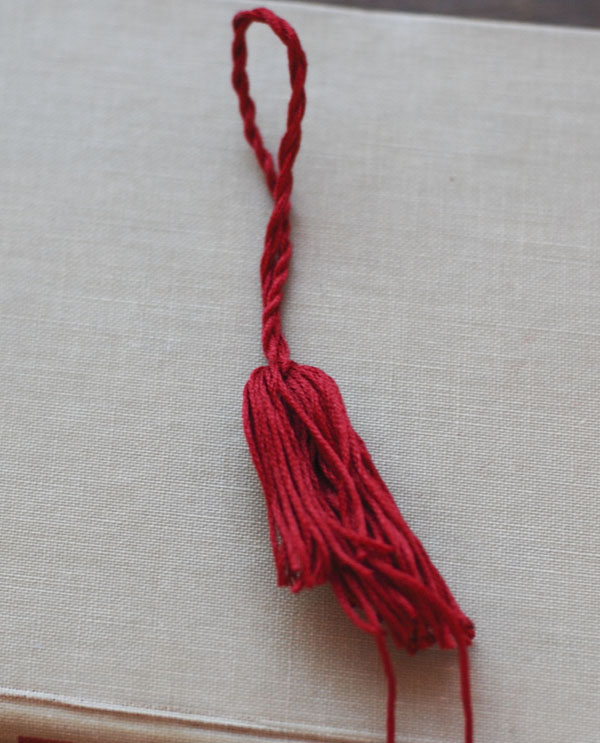
Cut another piece of embroidery thread 10 inches long. Place cord and tassel above it.
Tie thread around the tassel right below the knot. Turn tassel and tie again. Turn tassel back and tie once more.
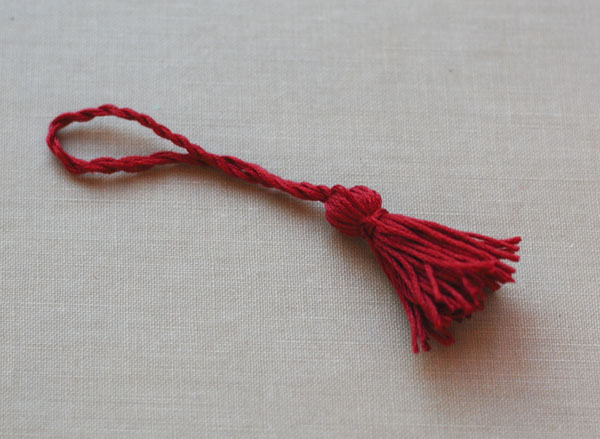
Trim any uneven ends of the tassel with scissors.
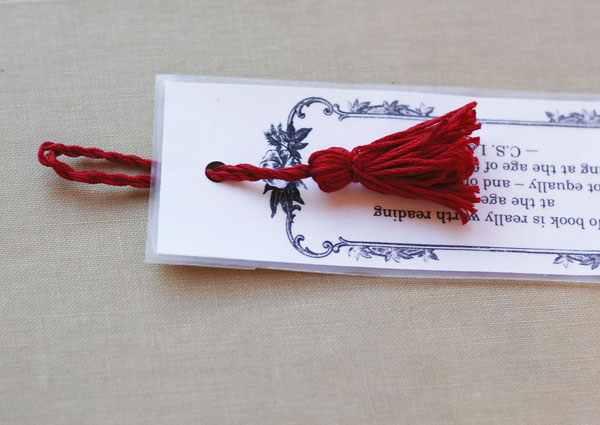
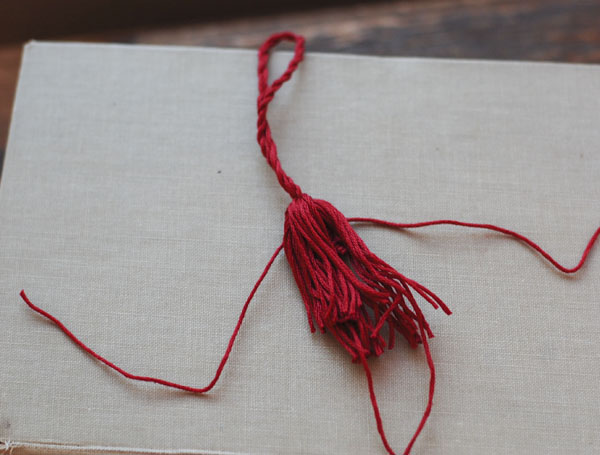
To place the tassel in the bookmark, work from the front. Place the looped end of the twisted cord through the hole on the front side of the bookmark.
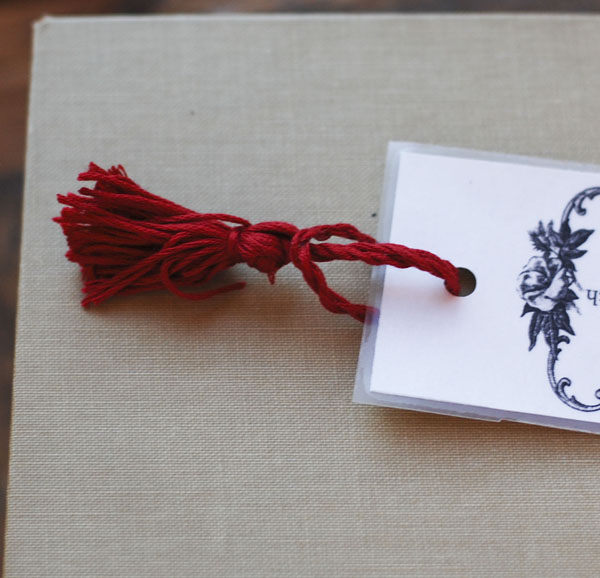
Take the tasselled end and put it through the loop of the twisted cord, and pull tight.
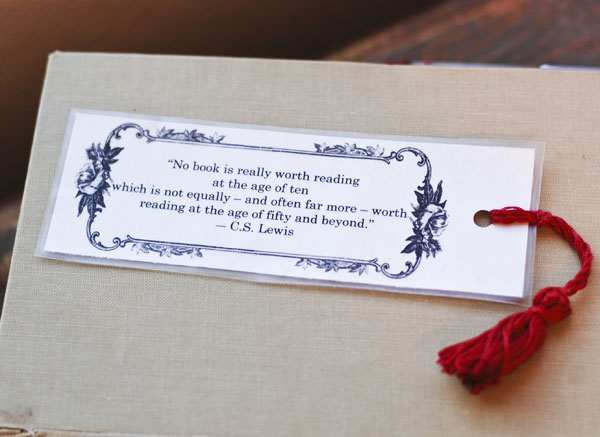
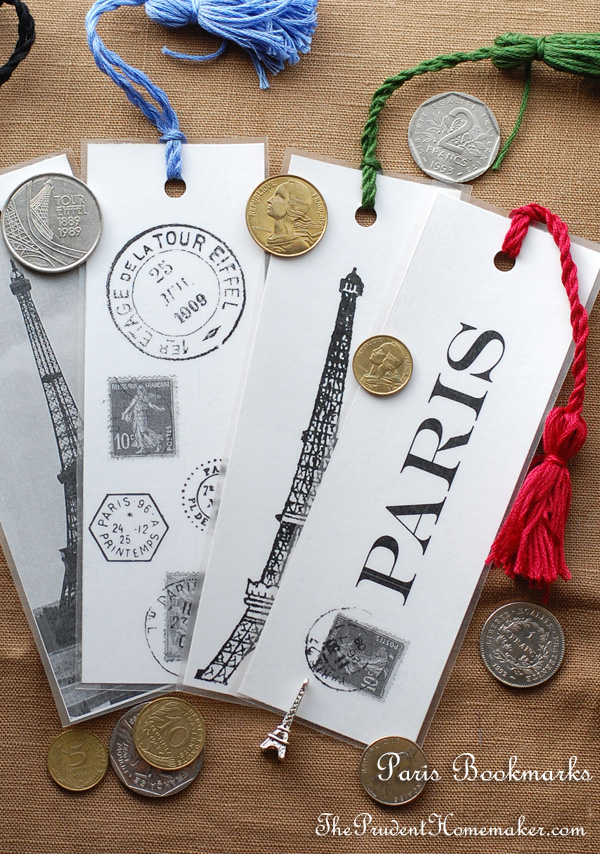
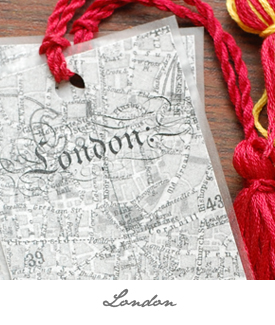
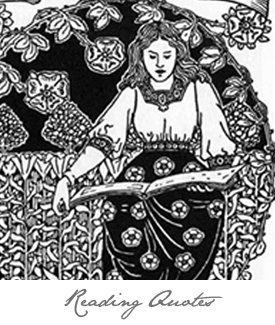
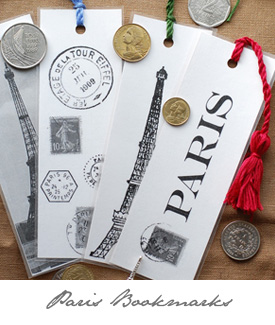
Click on the pictures below for the printable pdf files. Each one has 4 bookmarks.
 |
 |
 |
 |
 |
 |
 |
Images courtesy The Graphics Fairy, Just Something I Made, Dover, and The Prudent Homemaker. Finished bookmarks copyright The Prudent Homemaker.