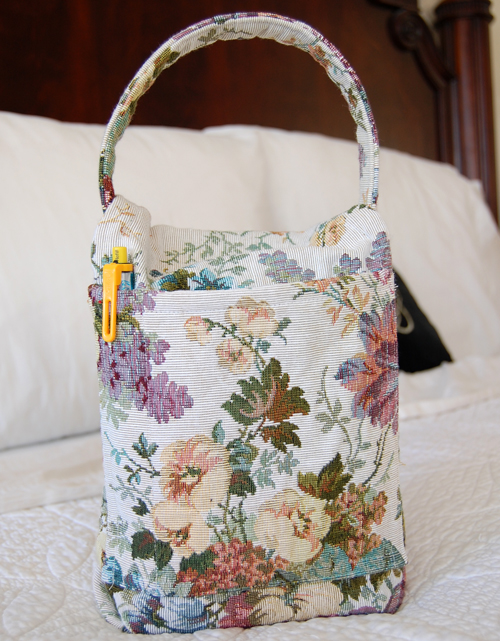
Make a bag for your scriptures! This bag will fit a standard LDS quad, or both a Bible and a triple combination. If your scriptures are a different size (or if you’re using this tutorial for something else completely, like a purse) you can change the measurements to the size you need and still follow the same directions.
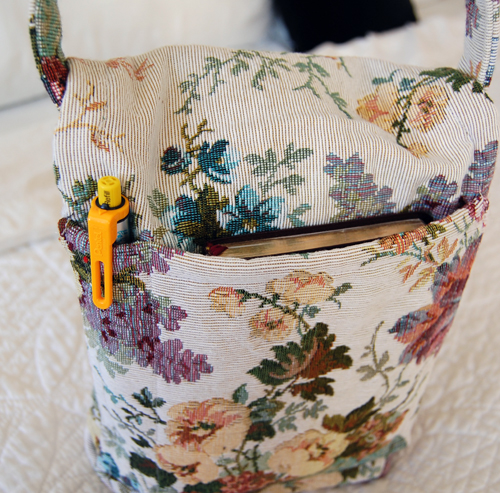
On the back, you can fit a small hymnbook and a pencil.
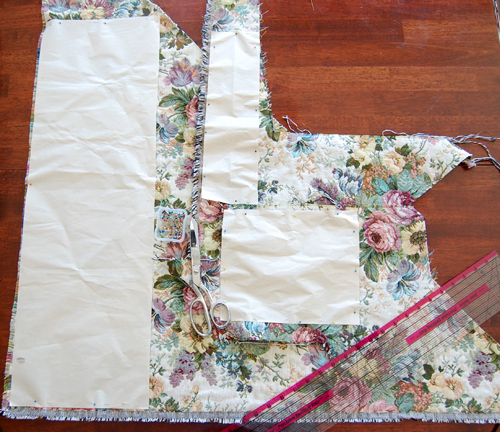
You will need enough fabric to cut three pieces, sizes:
9 1/2″ x 29″ (bag)
4″ x 14″ (handle)
7 3/4″ x 8″ (pocket) The pocket is 8 inches wide, so cut accordingly from your fabric in the direction you want the pocket to go.
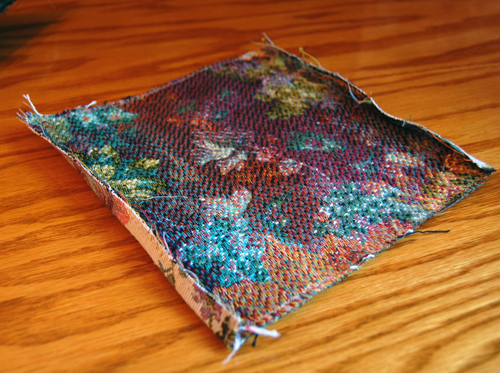
I used three scrap pieces of tapestry for mine. I could have cut all three pieces from the largest scrap, but I wanted to leave as much of the largest scrap as possible so that I can use it for something else. (The scraps were given to me by my Mother-in-law (and the tassel from someone else) so this project just cost me thread and the electricity to run my machine).
If you are using thinner fabric, you may want to line the bag. In that case, you will want to cut an additional piece of fabric for the lining and the pocket, as well as a piece of thick interfacing or preshrunk flannel in the same sizes to add strength to the bag.
You can sew the interfacing (or flannel) and the lining to the inside of the bag and pocket pieces (wrong sides together) and then proceed to make the bag, or you can do that for the pocket only. You can sew the interfacing onto the bag outside, and then make the bag in reverse for the lining and sew it in at the top for a more formal, nicer lining. That is what I would do if I was using this tutorial for making a purse.
Start with the handle.
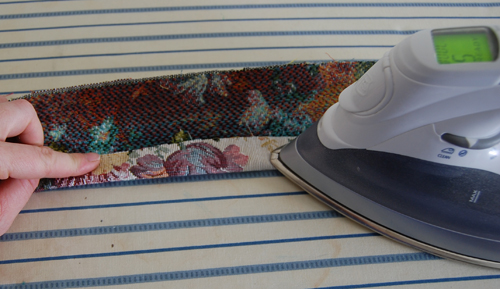
Iron it in half lengthwise, wrong sides together.
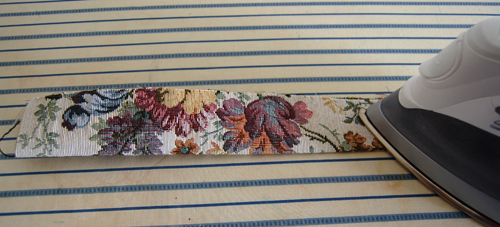
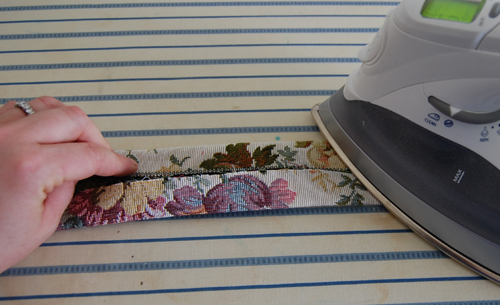
Open this piece in half, with the wrong side up. Fold both edges to the fold in the middle and iron again. If you are using tapestry, you may need to iron at a warmer setting, as tapestry does not like to set creases easily.
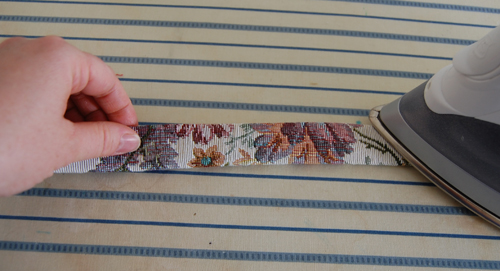
Now, fold handle back in half on the original crease, iron again, and pin it closed.
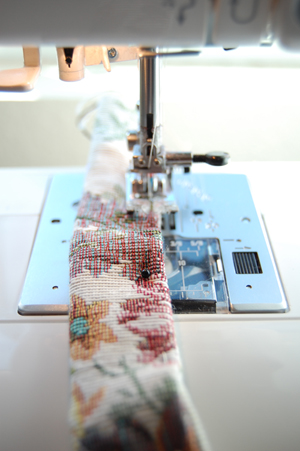
Sew the open edge together right along the edge. For the tapestry, I set my machine at a slightly longer stitch length (2.8).
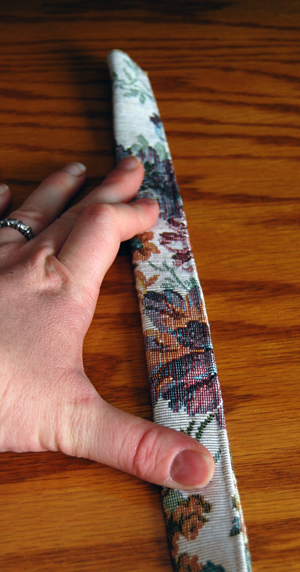
Zigzag the raw edges on the ends together. I did this twice on each edge, as tapestry is quick to unravel.
Set the handle aside.
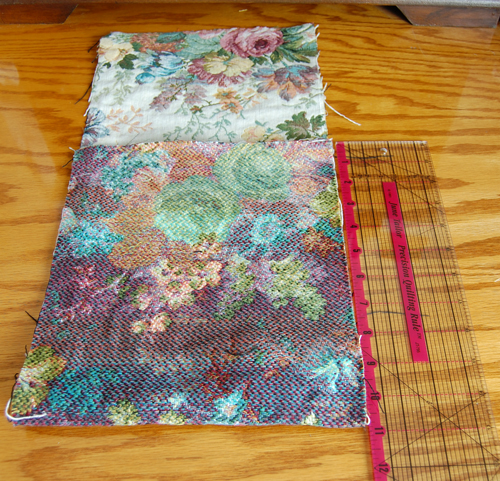
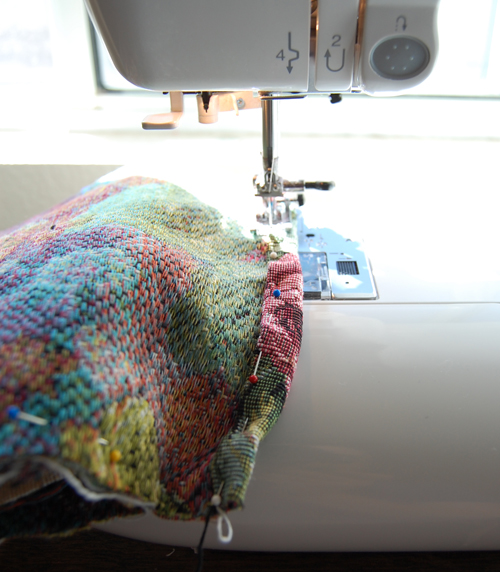
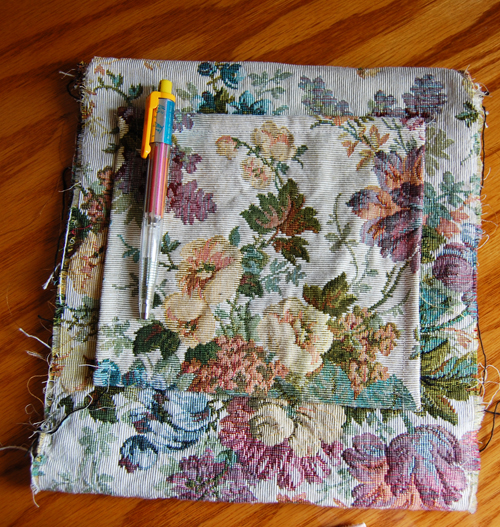
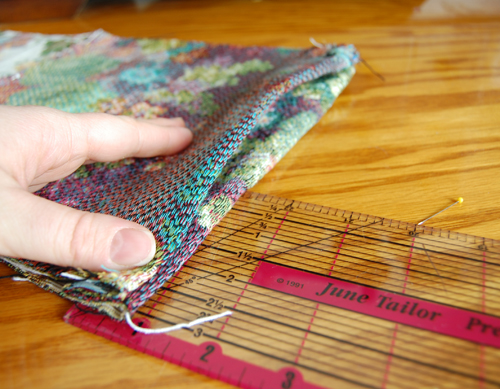
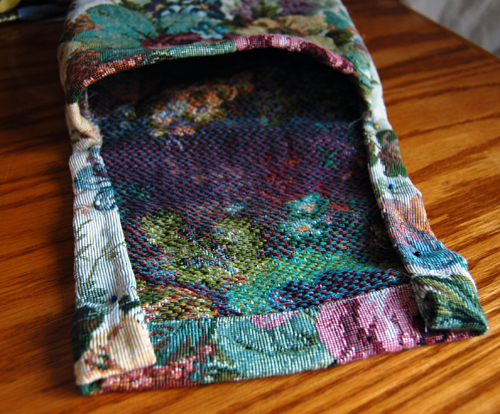
Fold the largest piece as illustrated (right sides together). You will want to fold this 10 3/4 inches up from the bottom. Pin in place temporarily while you work on the flap.
On the side that is the top opening of the bag (the top part that is closest to you in the photo above), fold down the top edge 1/4 inch and iron. Then, fold it again, iron it down again, and pin in place, as shown below.
Sew this edge down.
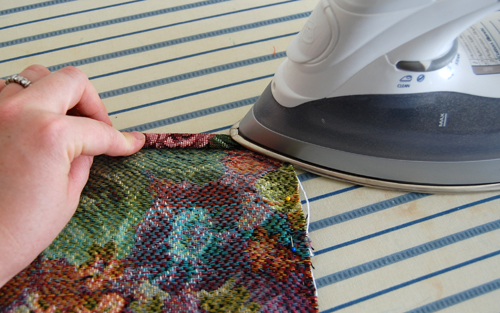
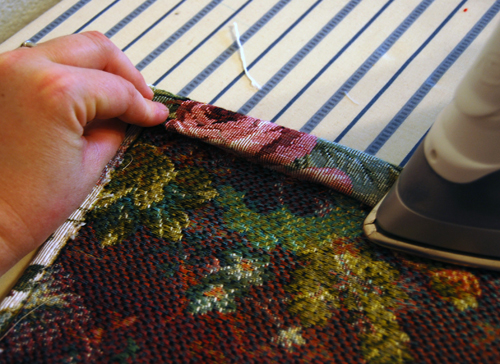
Flip the bag over, and iron the edges of the top part that is longer than the bag (this is the flap) in by 1/4 inch. Stitch these sides down.
{Iron edges image}
Fold top flap over 1/4″, and then over another 1″. Iron and pin in place.
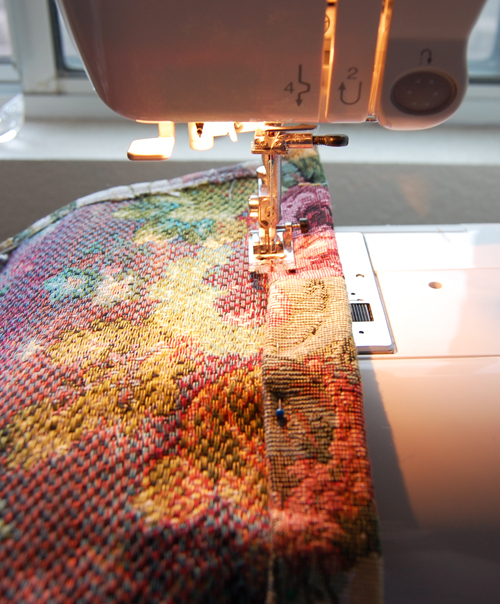
Sew top flap edge down.
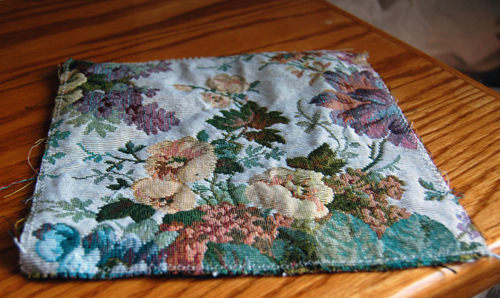
Now it’s time for the pocket.
Zigzag all around pocket edges. I did it twice, around. You can see the tapestry already starting to unravel.
Fold pocket edges in 3/8″ all the way around, and iron. Sew these edges down.
Fold one side down a second time for the top edge. Make sure that the fabric design goes the direction you wish when you choose the top edge (that you chose when you laid it out. Remember, the pocket is 1/4″ wider than it is tall, before sewing down the edges).
Iron, pin, and stitch edges in place.
Unpin bag (you will pin it back together the exact same way when after the pocket is sewn on).
Center bag on the back side of the bag. You’ll want it to be 1 1/4″ from the top.
Pin pocket in place.
Sew pocket onto bag by stitching along the sides and bottom, close to the edges of the pocket.
Mark a straight line 1 1/2″ from the left edge of the pocket, from the top to the bottom. I used a washable marker to do this (after stitching, remove the line with a wet washcloth. DO NOT USE SOAP, or your line will be permanent. Only use water.)
Stitch along line to make the spot for your pencil.
This is the pencil in the photo:
8-Color Dry Mark Bible Highlighter
in case you’re looking for one!
Put right sides together and pin the bag back together, except for the bottom. Line up the top open edge with the bottom of the flap so that your bag matches up on both sides.
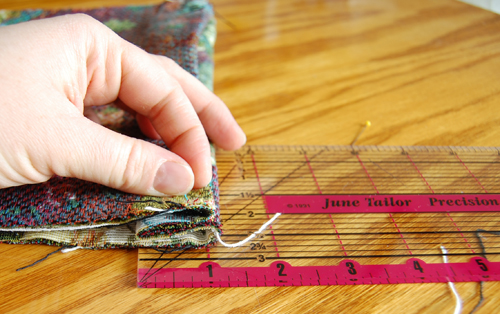
At the bottom, fold in the bottom edge as shown, measuring one inch on both sides. This will make your bag wide enough to hold your scriptures.
Pin in place on both sides before sewing.
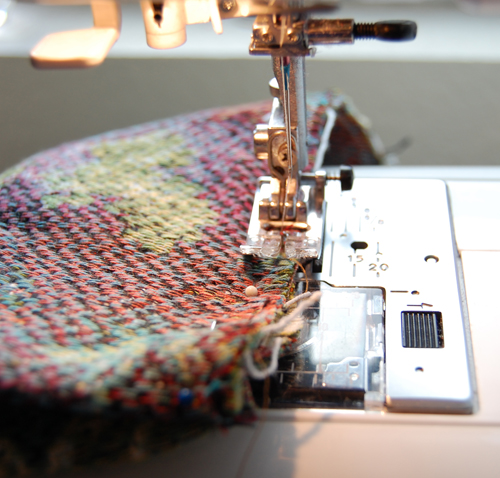
Sew bag edges together with a 1/4 inch seam.
Then, resew both edges together with a zig zag stitch to keep the bag from unraveling. Make sure to set your zig zag width narrow enough to fit within your 1/4″ seam allowance. I zig zagged the edges twice, as the tapestry unraveled so easily.
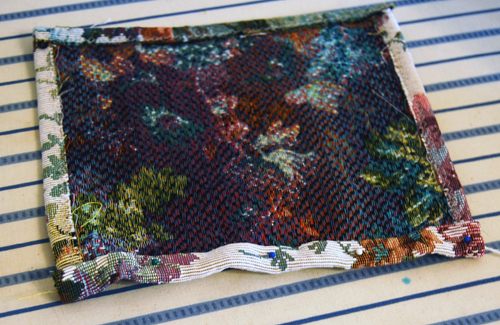
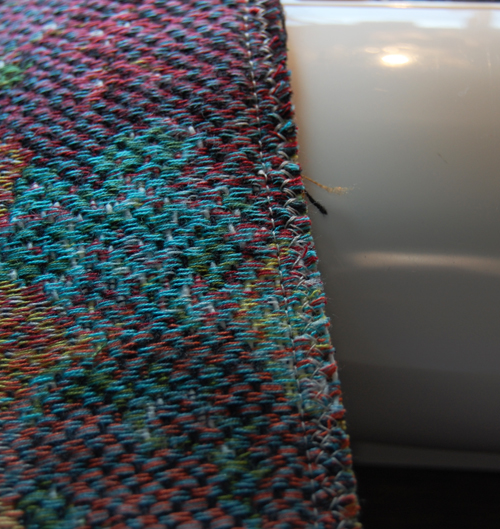
The sewn edges should look like this when you’re done.
Turn bag right side out. The bottom corners should look like this:
Fold and pin top edges, tapering from one inch wide at the widest part down to the bag ends. This ensures the flap lines up when the bag is closed with the scriptures in it. Stitch these edges down.
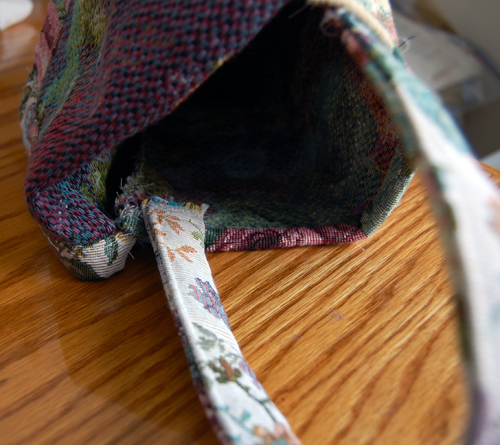
Pin the handle inside the bag edges (about an inch in) and stitch in place. I sewed them three times; first, at the bottom, then in the middle, and then along the top edge. This will help keep them in place and prevent them from falling off.
This is how the handle should look after sewing it on both sides.
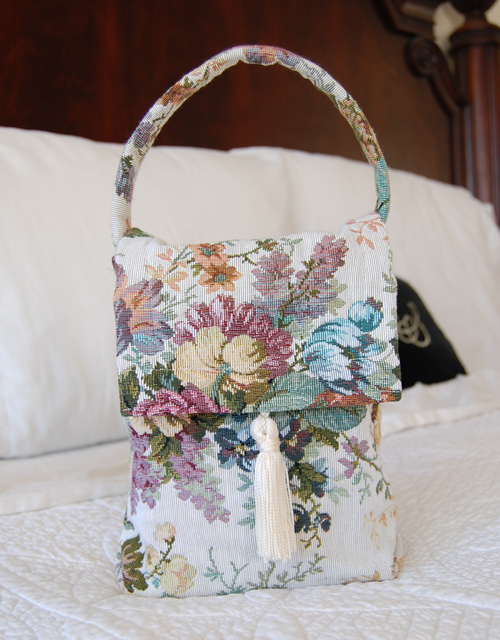
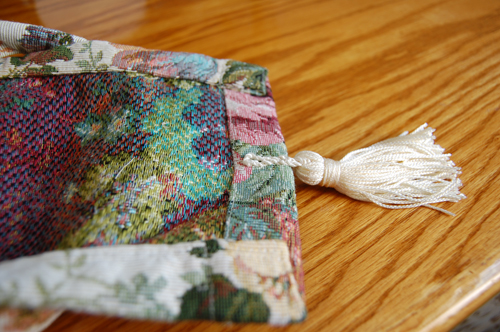
In the center of the top flap, I sewed a tassel on by hand (only going through one layer of fabric, so that the stitches don’t show on the other side). This tassel was leftover from some curtains I was given. I cut the curtains into a dress. I chose not to add anything to keep the bag closed, but if you want, you can add velcro here, or a button with a loop closure, or a frog closure, etc.
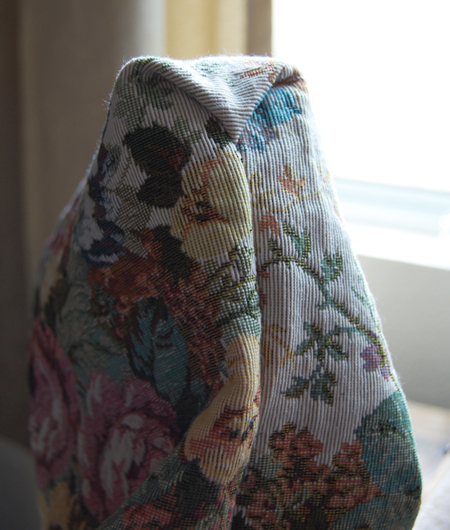
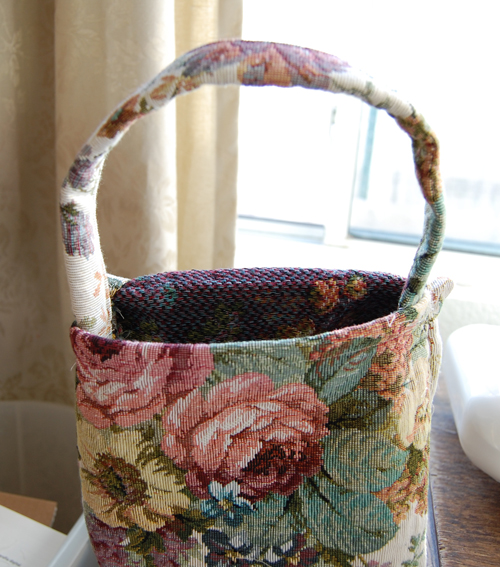
Completed bag
View from the back, with the hymnbook in the pocket and the pencil in its sleeve
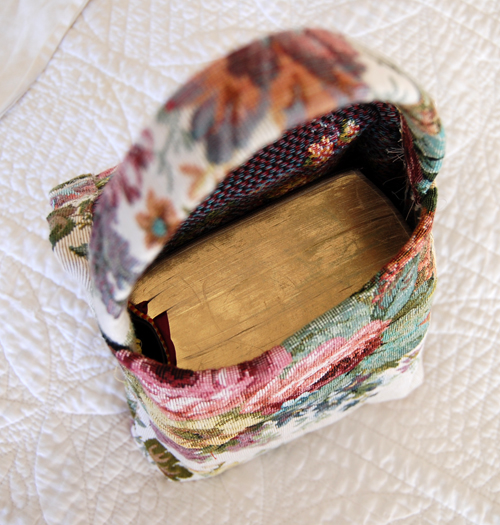
Inside bag
Note: This bag is for personal use only. Making copies for sale is prohibited.