
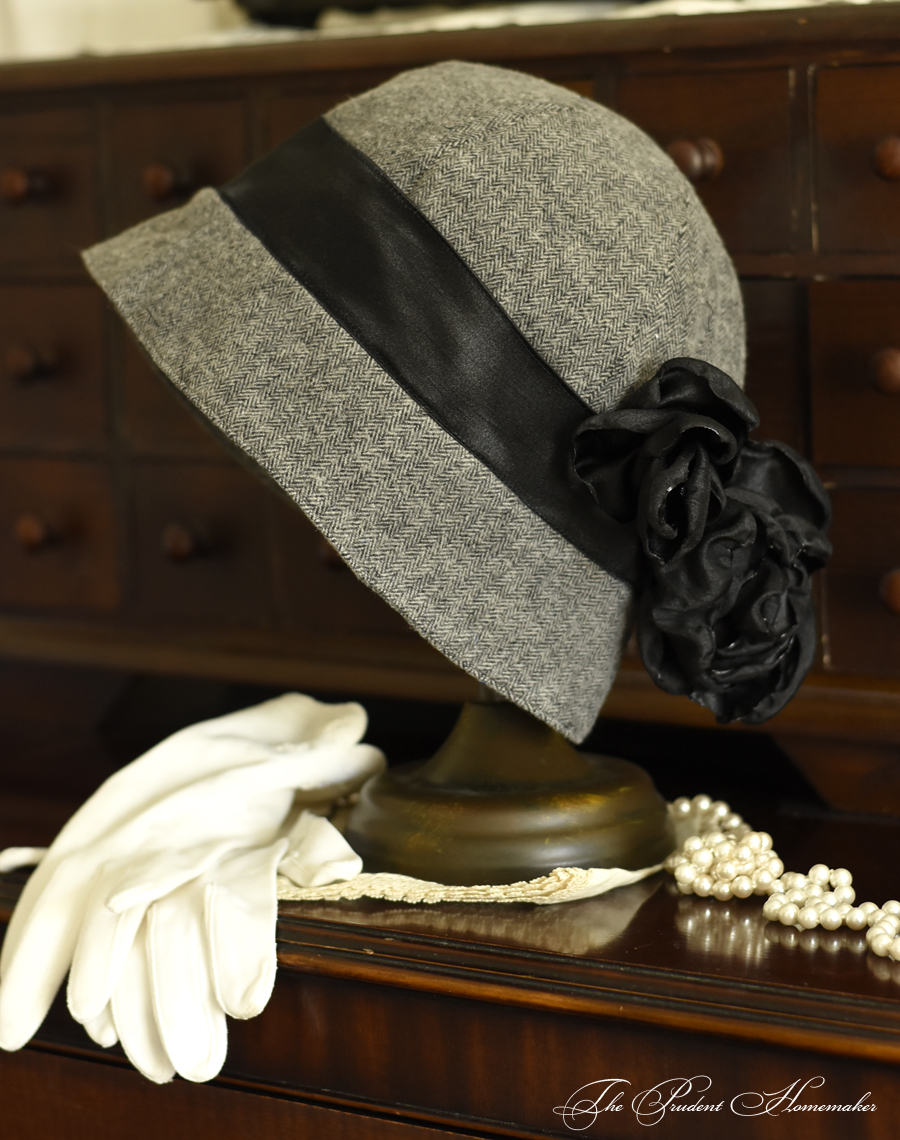
A couple of months ago, I came across a vintage-style free pattern for a cloche hat. I loved it, and so did Winter. Winter used the pattern first to make herself a hat, using the fabric from the bottom of a skirt (she turned a long skirt that I had bought at the thrift store into a knee-length one and used the fabric she cut off for the hat).
She liked the hat but wanted a bit longer brim next time, so I made this a bit longer than the original. I made it from a beautiful brushed cotton that I ran across at Joann’s when we were picking up some crinoline fabric in October. It feels like a thick flannel.
Supplies:
1/2 yard of hat fabric
1/4 yard of lining fabric (I used a bit more, using the same fabric for making the rose and trim)
thread
1 yard of fusible interfacing
Tools:
Sewing Machine
Iron
Sewing pins
Scissors
Candle
Time:
This took me about 4 hours. The tutorial says it is a 2-hour project, and I think sewing the hat is, but when you include the time to cut out the pieces for the hat, lining, and flower, and make the flower and trim, it takes longer.
A couple of tips: Take the time to iron every seam after sewing it before moving on to the next step. It makes a huge difference. Also, don’t neglect the top stitching. Top stitching not only makes the seams lay flat, it also makes the whole hat look more finished and professional.
Cost: $4.65
I bought the brushed cotton just recently at Joann’s on sale for $5.99 a yard (regular prices is $9.99). I had the black fabric that I used for lining and the trim from a long-ago purchase; it’s not technically lining fabric, but actual lining fabric would be even less expensive. The interfacing I used was bought on a Black Friday sale at 75% off; they sell a thin iron-on interfacing by the bolt that day.
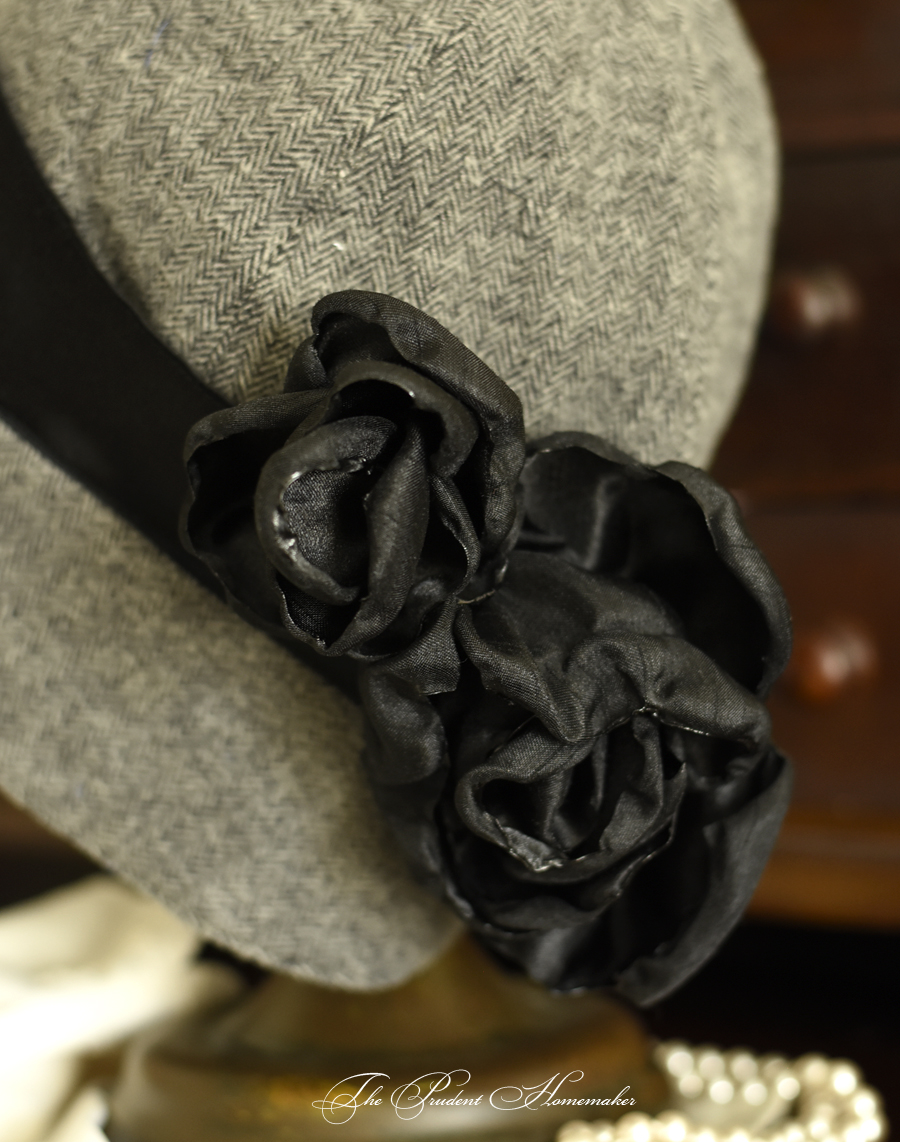
You could make this hat out of any fabric you have, including making it from an old piece of clothing or a flannel pillowcase. If you want to make flowers, you will need a synthetic fabric to melt in this fashion, but you don’t have to make flowers. Ribbon or a self-made trim will also work just fine. You can make this hat out of a lighter material for summer; Winter made hers from linen.
Just gorgeous! I love cloche hats!
I have one myself, but certainly didn’t sew it. Good to know that they can be done without breaking the bank or taking a course!
Cloches are my favourite hats of all time. Good work.
Beautiful! You always amaze me with your sewing prowess!
That is a beautiful hat! Well done!
I LOVE this hat! What a fabulous gift idea!
I wish I was getting one of these for Christmas 🙂
What amazes me most that Winter would choose such difficult project herself (to work on). Hats off to her x
Mariana,
It’s actually a fairly simple project. Winter knocked hers out in just a couple of hours (faster than I did). She didn’t make flowers and used ribbon for the outside trim as well as ribbon for the inside hatband, both of which spend up the process a bit, too.
She’s not afraid to tackle any project; she is even modifying projects to suit her tastes without hesitation. Her sewing list for herself is quickly becoming as long as mine!
What a beautiful hat, Brandy! I love the classic 1920s feel. I’m not really a hat person (despite having to wear bonnets with my costumes at work), but I certainly appreciate them. I’m impressed that Winter took on this project and made one for herself. It seems she is really enjoys sewing…a handy skill to have in life! Thanks for sharing this project with us.
Beautiful! Wish I could find a similar pattern with a rolled brim.
That hat is adorable. And I loved seeing how those roses were made.
I love this! I am going to try it with some fabric I have on hand and see how I do.
Thank you for sharing.
Oh my goodness, this is so adorable. I just got the electricity issue figured out in my craft room (the lights wouldn’t turn on!) so now I can finally get that room in shape for the many crafts to come. This actually looks like something I can do! And I already adore these hats, so it seems like a win-win.
Lovely!
Brandy, the hat is very pretty and feminine. Cloche are too form fitting…a beret or scarf works best over the hair bun for us.
Lovely…simply lovely!!!
I love that hat. My sewing machine is acting up 🙁 and I’m afraid it’s going to have to be worked on, but first I have to tear into it and see if it’s an easy fix. Whenever I use the reverse, the thread just turns into a huge snarl.
But if I can get it fixed, I just might try this hat! How great that your daughter tackled a hat fearlessly.
Maybe it’s something about youth, but I was more adventurous about sewing when I was a teen. My sister and I sat down to our mother’s old black Singer one day and stitched patchwork leather purses for ourselves — just sketchily designed them and sewed them “off the cuff” — out of soft leather scraps our grandmother was allowed to bring home from the glove factory where she sewed dress gloves all day. They turned out great and we carried them to school for a long time, to the envy of all our friends. Our mother’s face when she came home from shopping, to find we’d been sewing leather on her only machine, now that’s another story….:)
The hat looks great–all your projects look so professional when finished. I remember my girls wanting hats when they were about Winter’s age. I made them each one and then all their friends wanted one, too—they were a more casual pattern, but I had plenty of scraps of fabric and soon both boys and girls in their group were wearing hats in the same style but different fabrics. They thought I was quite the genius at sewing.
Of my two girls, one became quite a good seamstress and the other doesn’t sew much but is great at counted cross stitch and wraps the most exquisite looking gifts. Both learned to crochet, although I know barely enough to put an edge on something, and both could knit, as I did quite a bit of that. The older one would take some old newspaper and cut herself out a pattern, cut the fabric and sew an outfit in a day. I surely didn’t teach her that—I know just enough to use a different sleeve or collar but I need two patterns to start with! The most important part is getting them to ENJOY the process, and mine surely did.
Jo, as a temporary fix, you can reverse sew by stopping with the needle in the down position, lift the foot, swivel the fabric 180, sew back over the sewn line briefly, then repeat to position the fabric back to continue sewing. It’s a bit of a pain, but that is what they used to do before sewing machines had a reverse function on them (e.g. pedal operated Singer sewing machines).;)
I love, love, love the hat. Is there a trick to the flowers? I could use a tutorial as well on that. You guys are very inspirational and the hat is very Downton Abbeyesque
oh, wait! I found it at the end of the tutorial. Still a fabulous job. My compliments to you and Winter!
Oooh, I’m wondering if I could make one for my mother in law before Christmas. I love it!
“her sewing list is becoming longer than mine” that sounds like a great idea for a Christmas gift. A sewing machine. I was 12 when I got my first machine. I used it all the time.
That hat is very pretty. I wish I could wear hats. I have never found one that looked good on me. I have a very low forehead and hats make me look funny because you can not see my eyes….It is weird. I am sure that will be beautiful when you are all dressed up for Sunday Service.
I have another machine for her to use; my mom gave me one on permanent loan. Right now she is busy preparing for the ACT and since I’m sewing presents in the sewing room, she is waiting to use it until later.
We actually don’t wear hats at church but she wears a hat every day to and from seminary when it is colder–and today the temperature is dropping about 15 degrees! She was with me when I bought the fabric (with the plans to use part of it for the baby) and she said it would make a nice hat, so it won’t be a total surprise, except for the flowers!
Glad you found it. The main trick is to try not to burn your fingernails 🙂 Also, the fabric has to be synthetic in order to curl. The petals get a lot smaller, so start out with large ones if you want a big flower. I used smaller petals for the center and larger ones for the outside.
This tutorial is even more detailed for flowers. I made mine closer to this size:
http://shabbyartboutique.com/2015/04/diy-fabric-peonies.html
I love that hat. A lot. Thanks for showing us your creation!
Super and looks so smart when worn. Would look equally attractive in a m
ore waterproof fabric
What a wonderful story! This is what i want for my girls.❤️
Oh, this is precious! I love hats and this is just my speed!
Now, I just have to find time to teach myself about my new sewing machine… 🙂
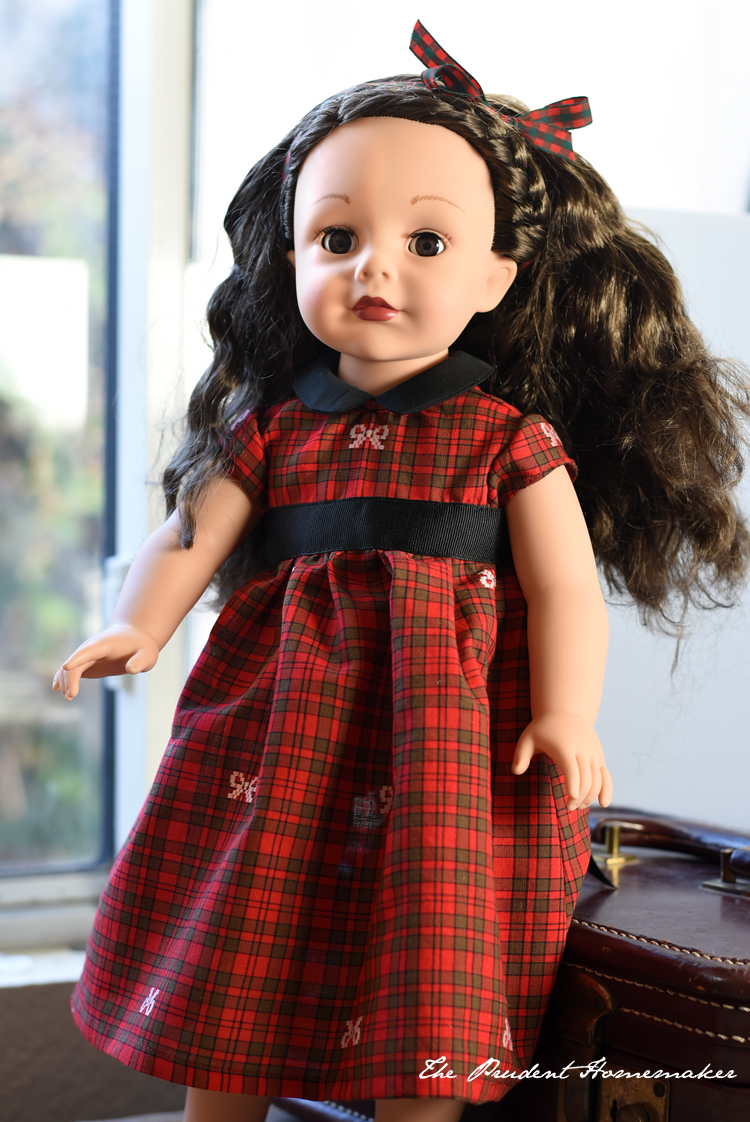
Thank you, Brandy! I am excited to see the post about Winter’s dresses!
I adore this – so pretty… I’m wondering where I’d get fabric to make one toy match a tweed coat I have xXx