
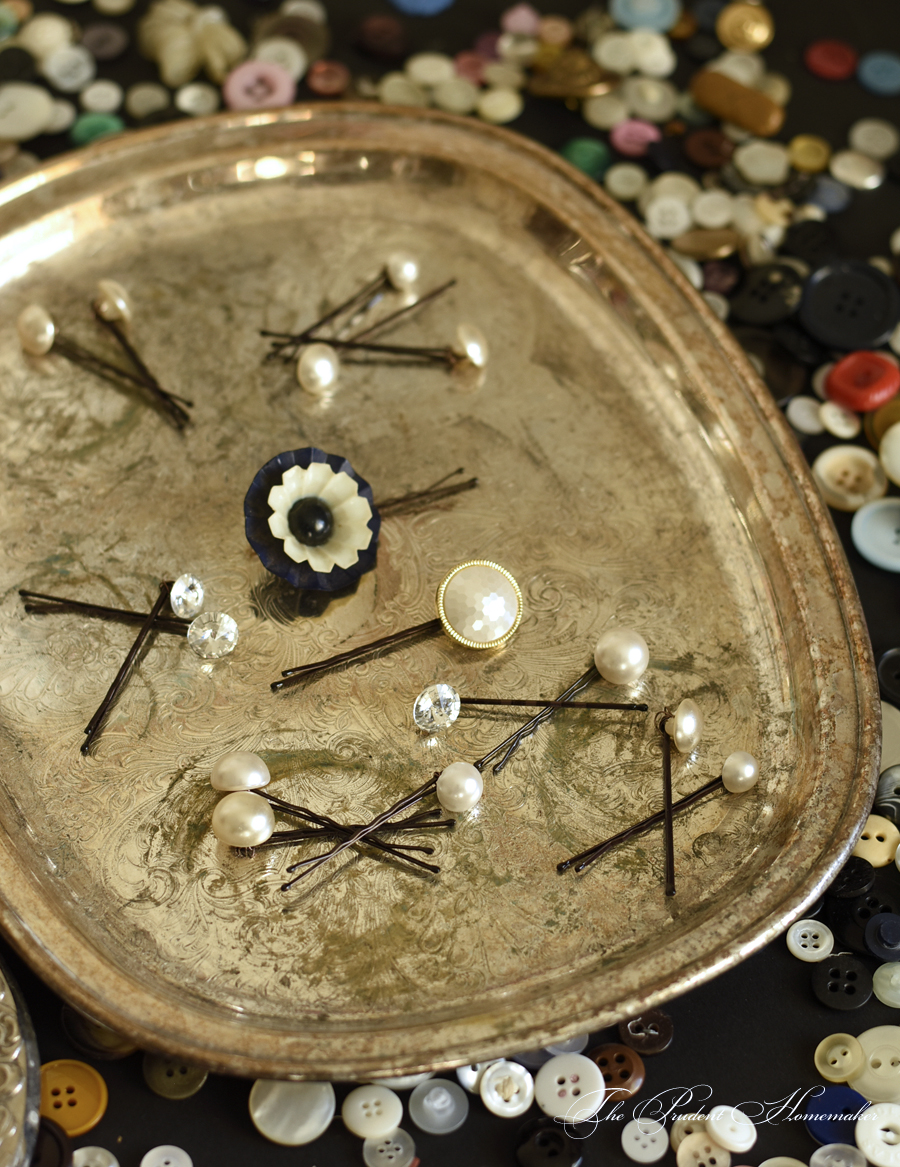
I made button bobby pins for my eldest a few years ago, as she puts her hair up every day. Her younger sisters often ask her to style their hair for them (you can see some of the styles she does from her Pinterest board). This year, one of my younger daughters asked for some of her own fancy bobby pins for her own hair for Christmas.
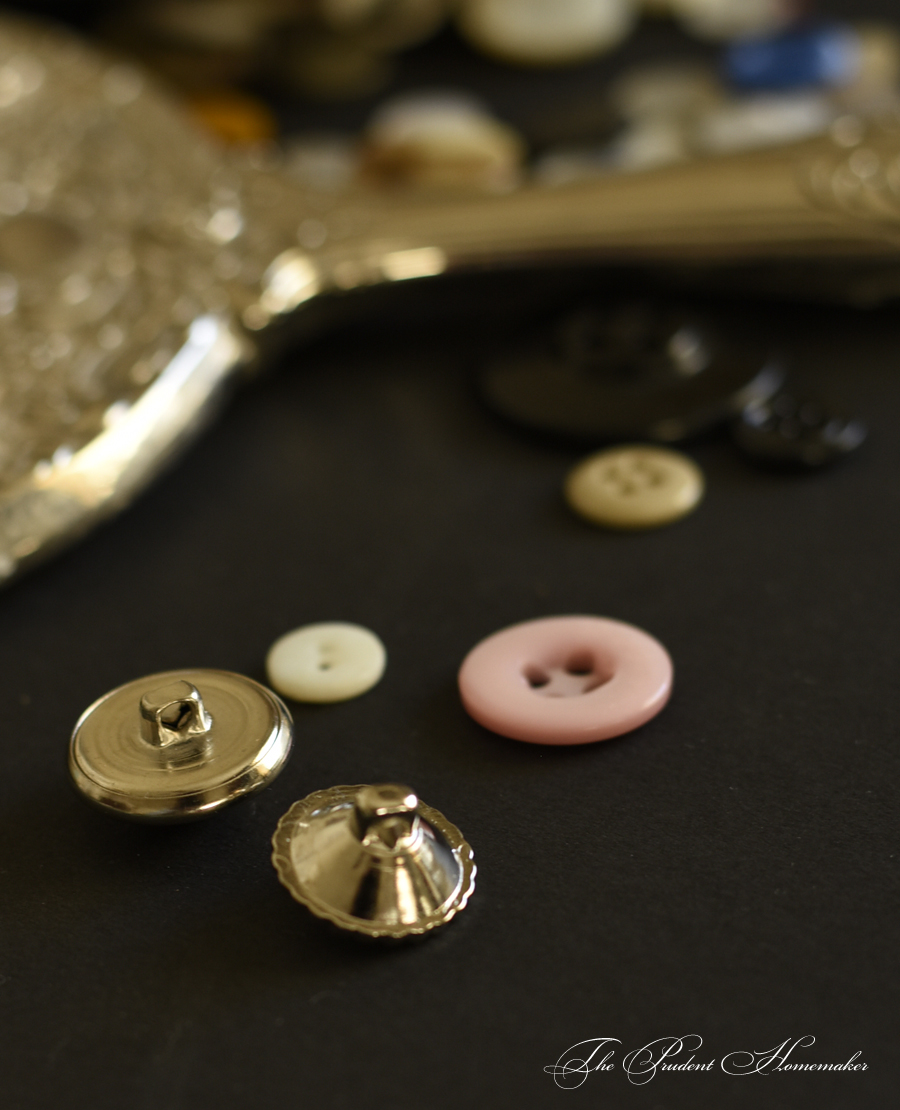
I was gifted a number of vintage buttons over the past year, and several of them were shank buttons, which were perfect to use for these.
Supplies:
bobby pins
shank buttons
jewelry wire
Tools:
wire cutters
needle nosed pliers
Cut a piece of jewelry wire about 3 inches (approximately 7.5 cm) long for each bobby pin.
Wrap the wire through and around the end of the pin, through the shank button, and around the shank of the button several times, using the pliers to pull the wire tight each time.
When you get to the end of the wire, use the pliers to tuck the ends into the holes of the button, so that nothing sharp will stick out.
Time:
It took me 4 minutes per bobby pin (I’ve gotten a tad bit faster from when I made these three years ago).
Cost:
$0.02 each.
I used buttons I had been gifted.
If you don’t have buttons, you can purchase some on sale from Joann’s, Hobby Lobby, etc. I usually buy buttons on sale for 40-50% off.
Black bobby pins can be bought from several different dollar stores.
I purchased the jewelry wire on a 40% off sale at Michael’s several years ago. The wire regularly goes on sale, or you can use the coupon that comes in the weekly ad.
You can see the ones I made three years ago in this post.
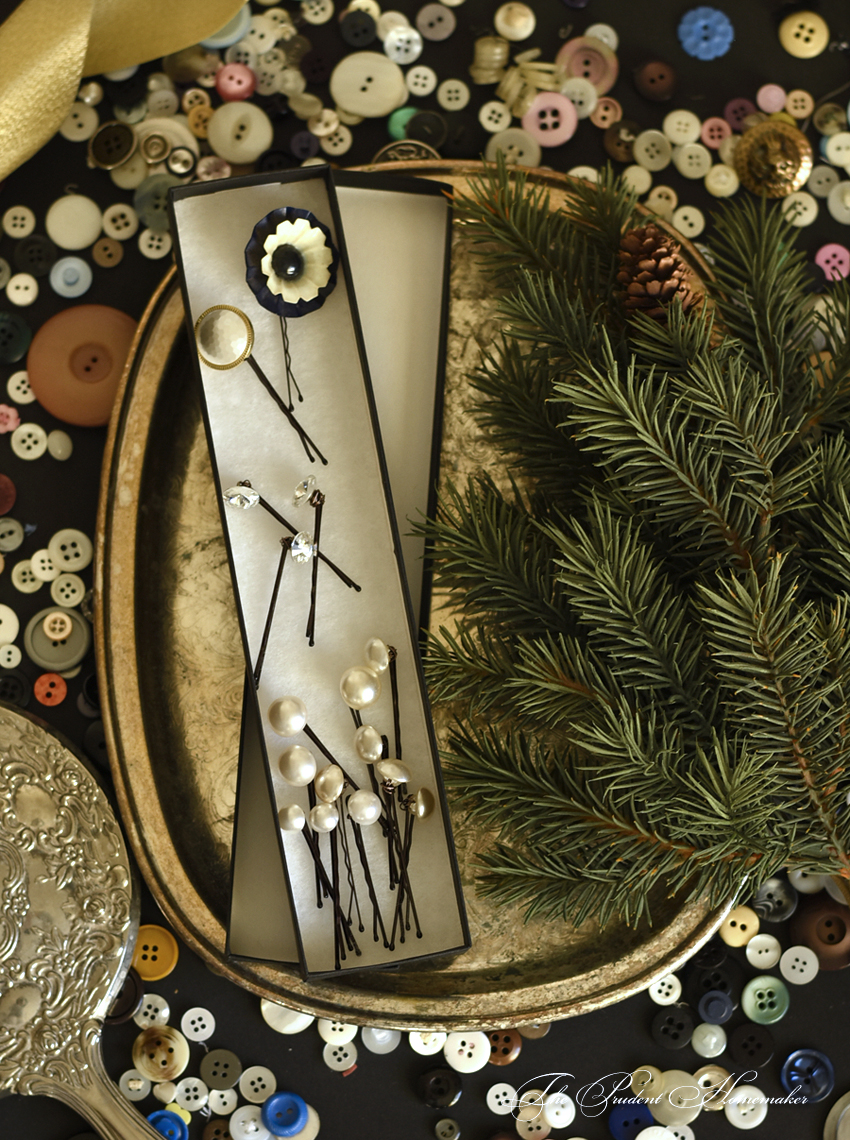
I love the ones with the pearl buttons on them. So elegant and cute!
Another gift idea for someone who sews….Take pretty small bowl (I have a small berry bowl from my grandmother’s china) Attach a magnet to bottom. Now it will hold pins for the sewing person. I have a couple, one with quilting pins the other my normal sewing machine pins, and still a 3rd with needles and thimble.
They’re so pretty! My favorites are the ones that look like little diamonds!
Your daughter inspired me to try making some pretty barrettes from old jewelry & such that I had saved. I just loved the piece she wore in her hair to her winter dance. I had everything I needed so it was a *free* project!
These are lovely. What a great idea!
What a great idea! thanks
I made these for Christmas presents also. You, Brandy, provided the inspiration. I used buttons from clothes I had cut apart for rugs. I had access to jewelers epoxy which was an effective choice for me over wire. I’d post a picture if I could . Thank you for another beautiful idea.
Noticed your silver tray: If you don’t want to spend a lot of time rubbing silver trays with silver polish, use WD-40. It polishes quickly and removes most rusty pots as well. I use it on my silver and silver-plated items all the time, and if one has a husband who fixes things around the home, one is almost sure to have some in the garage.