
I’m sure you’re wondering what happened to yesterday’s gift.
I thought it was 2-3 hour project. I even got a head start by laying out and taping together the 28-page printable downloadable pattern the night before (a 40-minute task).
I started the project and it didn’t take long to remember how frustrating it is to sew on sheer fabric and how a simple project can take 3 times as long, due to the slipperiness of the fabric.
The project is now sitting in a heap on my sewing room table, waiting for me to get back to it–with the seam ripper.
That left me just a little time to work on some small projects today (as I was still working on yesterday’s gift this afternoon).
Many of you expressed an interest in seeing my big gifts. As I look over my lists, they are almost all big gifts, and will be a real challenge to complete in a day (or even two!)
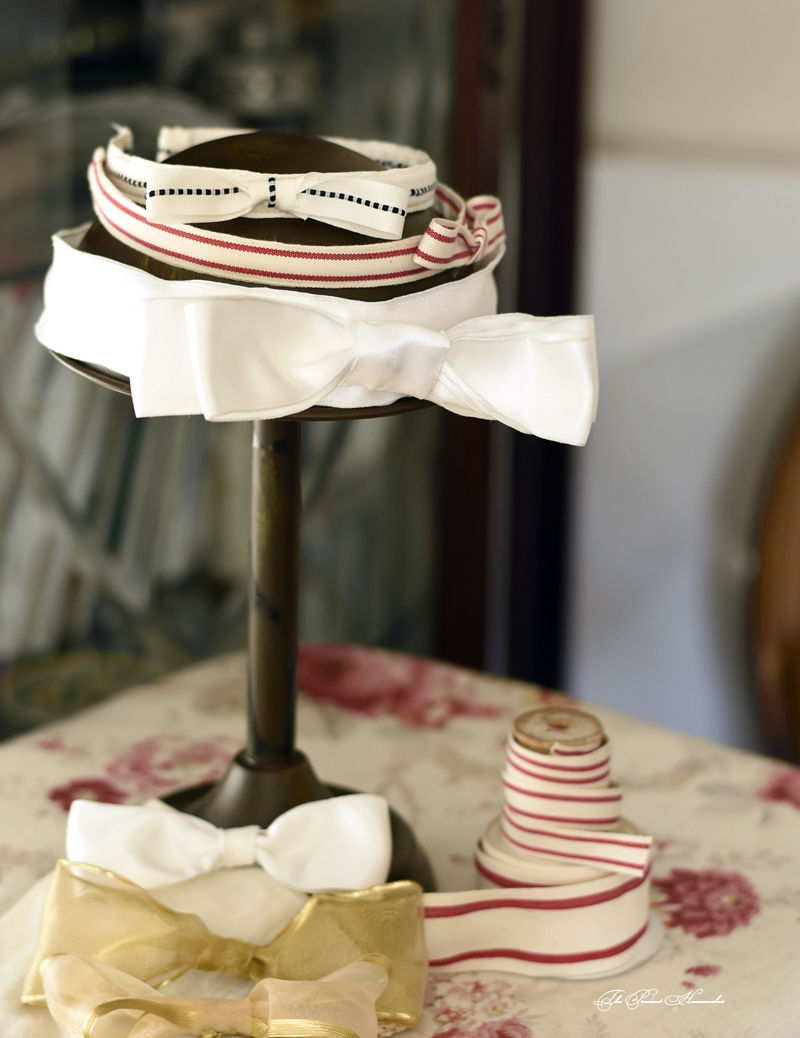
With the time I had left today, I went through my ribbon stash and used some to make hairbows and to cover some headbands.
I had this pretty pink idea in my head, but as it turned out, I need to replenish my ribbon box with pink, black, and a few other colors, so I’ll be looking for sales on ribbon by the spool so that I can make these in those colors as well before Christmas.
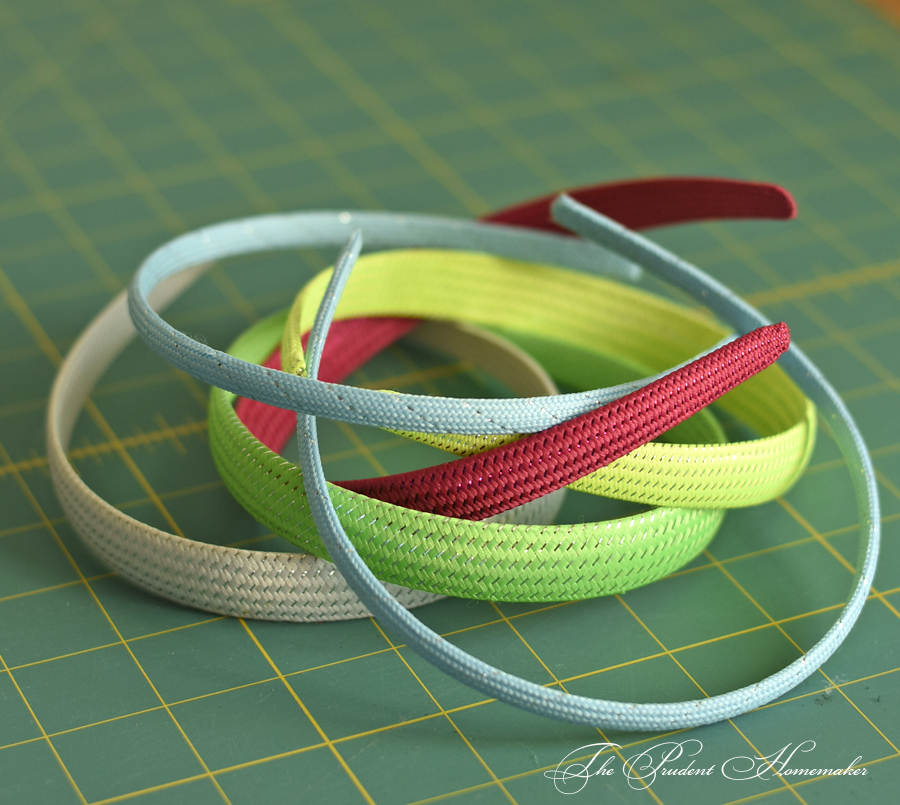
I started with these inexpensive headbands. I’ve bought these before at the Dollar Tree in a pack of 4, but I haven’t seen them there for a while. I bought a bunch with a $10 off $10 coupon to Kohl’s before, and I have several more that I bought at a garage sale to use for this purpose.
I cut off the fabric that was on them.
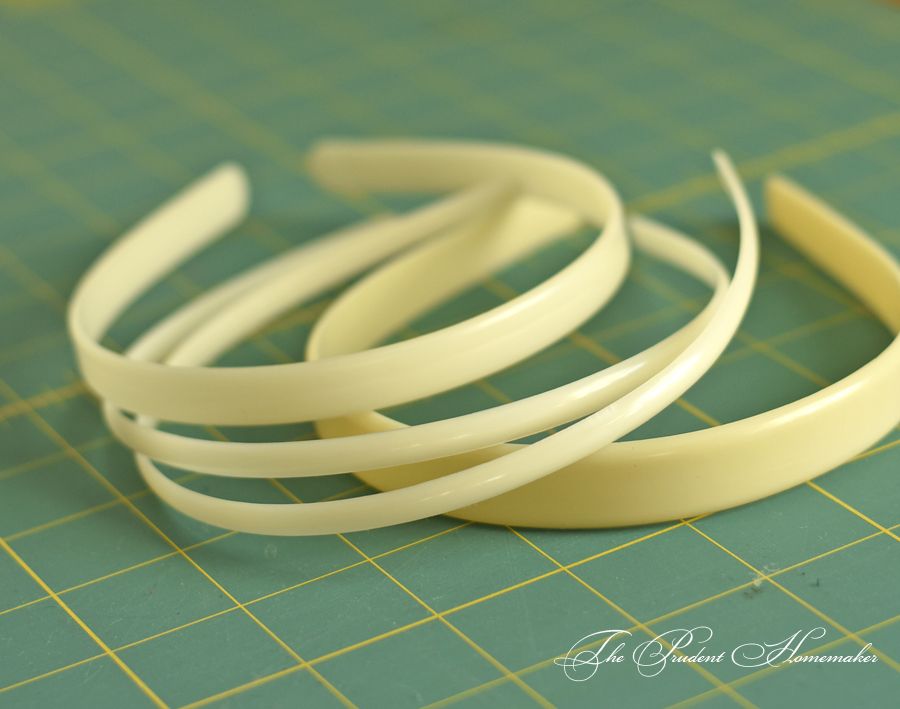
Then I cut two pieces of ribbon (the length of the headband with about an ince/2 centimeters extra left to hang off each end) to cover them. I pinned the ribbon together and sewed along the length, right along the edge of the ribbon. I then put it over the edge of the headbands, pulled it over, folded the edges down on each end, and hand sewed the edges closed to the inside edge of the headband. I hand sewed the bows from more ribbon and sewed them to the top of each ribbon covered headband.
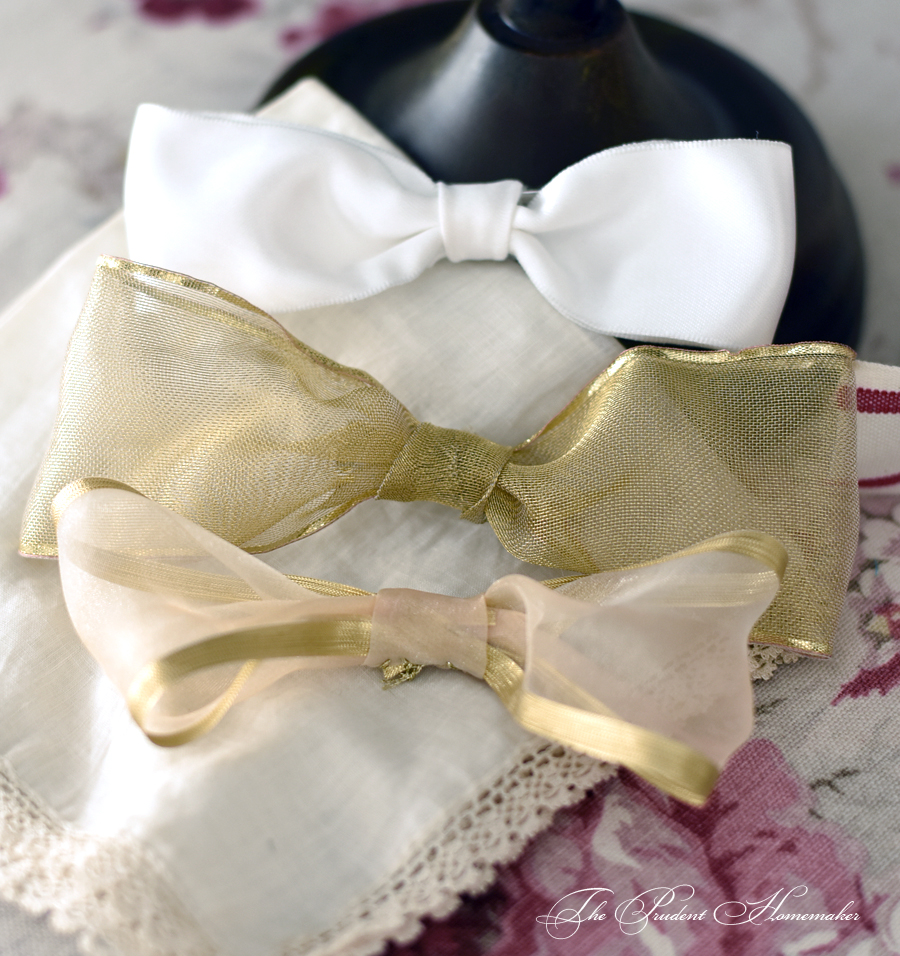
For the barrettes, I hand sewed bows, and then ran the top of the barrette through the back center loop of the bows.
Supplies:
thread
ribbons
headbands
blank barrettes
Tools:
Sewing Machine
Sewing pins
Scissors
Hand-sewing needle
Time:
An hour and a half for the three headbands and three bows.
Cost:
$0.55 for the red and cream-striped headband, $0.04 each for the other two headbands, and $0.40 each for the barrettes.
I purchased the red and cream striped ribbon, the headbands, and the barrette blanks. I bought the white ribbon about 25 years ago. The other ribbons were given to me. The gold ones came on packages that I had received; I always keep pretty ribbons on gifts to use for wrapping gifts or for hair ribbons.
I’ll be back to sewing gifts on Monday.
Did you make any gifts today? What did you make?


What a clever idea to make a casing for the headband! So sturdy and hard-wearing. But best of all, pretty! 🙂
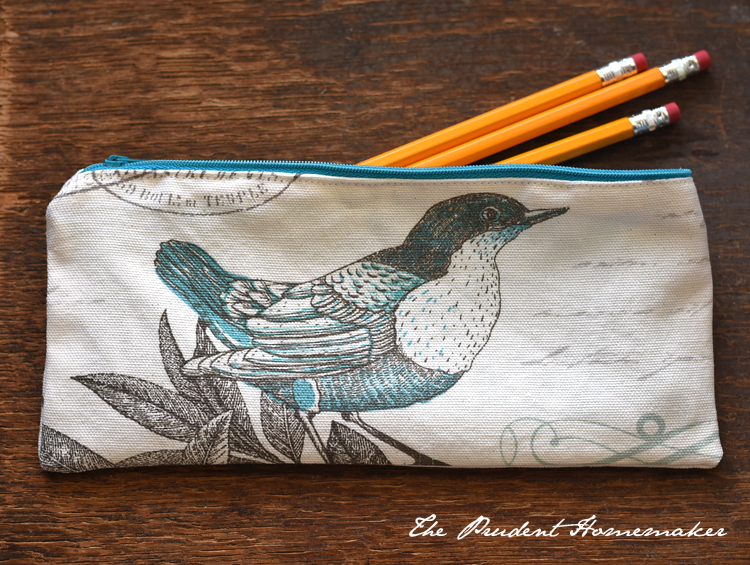
I didn’t make any presents today, as I came down with a cold, so I just worked on some blogging stuff. But do I ever hear you on the longer-than-expected projects that need a seam ripper! I have a few of those waiting for me to tackle them; hopefully in time for Christmas! One of them is a cosmetic case/large pencil case that I sewed with a lining, except that I accidentally put the pretty fabric on the inside and the plain fabric on the outside. Ugh. Seam rippers are handy little things!
The headbands and bows are beautiful~ What age are these for with your children?
blessings
Patty from the NW
Wow! I liked the headbands before but now, they are fabulous. Very pretty.
You are a very talented lady and I admire your frugal sensible attitude, I am trying to learn how to live a simpler life that does not cost so much, and enjoy finding inspiration from clever people like yourself, thank you.
I didn’t get any Christmas gifts done, but I did finish a “thank you” gift for a friend for coming to teach the girls in our homeschool group proper tea etiquette. A sweet Mommy and Baby apron set. I posted a picture of it on my instagram page.
https://www.instagram.com/mountainmamabysarah/
Oh no, Brandy! I am so sorry to hear of your struggles and frustrations with your sewing project. I hope things take a turn for the better once you are able to get back to it!
I have not started making anything yet, but am finishing up my lists and will start soon. You’re definitely an inspiration!
I was able to finish one gift today, but it took more than a day to make. I finished one of the scarves I’m knitting for both of my daughters. I made it in a pink-black-gray variegated yarn. Was pleasantly surprised with how well it turned out. One down one to go!
These are so pretty, Brandy! I recognize the red stripped ribbon from the aprons you made last year. It makes a cute hairband, too! As for the bigger items, I’m not upset if it takes longer to post them. I think we all appreciate that they take more time to make them, especially when the project goes off the rails. Anybody who has ever done crafting of any sort has had this happen to some degree. It’s very frustrating to say the least. So please don’t feel like everybody is leaning over your shoulder, tapping their fingers and waiting for perfection. We’re a supportive community here that loves everything you do, Brandy…even when it doesn’t go as planned!
Today I am working on a skirt for my oldest niece. It is coming along nicely but I wish I had an overlock machine to make the finishes look a bit nicer and less ‘homemade’. As of right now I cannot invest in one since I don’t sew enough but maybe in the future I will if I find a good deal.
Very pretty! My hand made gifts are the embroidered flour sack towels I’m still working on. They take more than a day. I also make fudge and caramel corn, but that’s right before I ship them.
That’s one of the things I like about making French seams. The seam is enclosed. I personally like them better than serged seams. You don’t have to have a special machine for them, either.
I sew a little (very little, actually), but I’m not familiar with French seams. Can you do a tutorial sometime? Is your preference for these seams why your garments always look so professional and high quality?
I wondered what a French seam was the first time I read it in one of Brandy’s posts too…so I googled it. There are lots of tutorials/explanations already on-line and it is super easy to do. You basically sew the pieces with [u]wrong[/u] sided together first, trim the sewn edges to maybe just over an 1/8 inch from the stitch line, flip the piece so right sides of fabric are together now, press the seam flat, then sew the seam again about a 1/4 inch from the edge. The raw fabric edges are now encased in the seam. Life changing moment for me when it came to sewing!
I love that red and cream ribbon! I have a book of french inspired sewing projects and that color scheme is featured a lot-actually it’s what caught my eye in the first place & “made” me buy it. ~TJ
I took a break (again) from reading frugality blogs. I get overwhelmed very easily. I am one that thinks I have to do it all or I’m not doing it correctly. So when I fail in one area of my life, it outs everything into a tailspin.
For instance, you and other readers post they use items they have kept 20+ years. Or grow all your own food. I live in a house, that based on size, is considered a tiny house. Two bedrooms, and 1 bathroom. Small closets, not walkins. So I don’t have anywhere to store items. So sometimes I just have to step back and take a breather.
Janell,
You have a great frugal thing going–a low mortgage payment! That’s a HUGE money saver!
I have some storage space, but neither a basement nor an attic. We do have a garage.
I think the key is to find what works for you.
I don’t grow all my own food–not even close! I live on a .24 acre lot in the desert. I grow as much as I can, but there are things that don’t grow here, and the heat prevents tomatoes, beans, and squash from flowering in the summer. Some readers can grow enough to can; I need to purchase green beans and canned tomatoes and sauces.
Don’t let others’ frugal efforts make you feel bad. Look for new things that you can do and use those, and those that won’t work for you you can let pass by!